Revolutionizing In-Line Measurements of Aluminium Extrusions
Article

Illustration: Canva Pro
Editor: Dr Waiel Elmadih, Taraz Metrology
Date: 27/6/2023
Revolutionizing In-Line Measurements of Aluminium Extrusions
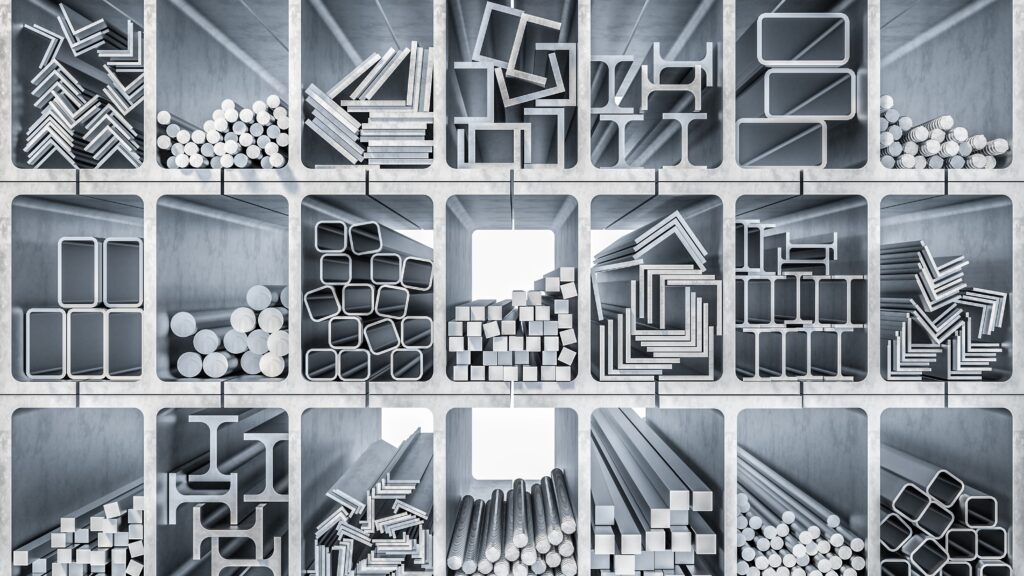
Aluminium extrusions are used in a wide range of applications, from architectural projects to automotive and aerospace industries. It is a process where heated aluminium is squeezed through a pattern to create a desired cross-sectional shape (see Figure 1). These extrusions are lightweight, strong, and highly resistant to corrosion, making them an ideal choice for long, structural applications such as support beams in cars, airplanes and construction.
Taraz Metrology is proud to be part of the innovative DAT4Zero project that aims to revolutionise in-line measurements of aluminium extrusions. By using high-speed laser scanners and advanced software, this project provides an exciting solution to the challenges of measuring the shape of extrusions during the manufacturing process, without causing any damage. This groundbreaking project not only improves the quality of the final product but also reduces waste and saves time and money in the manufacturing process.

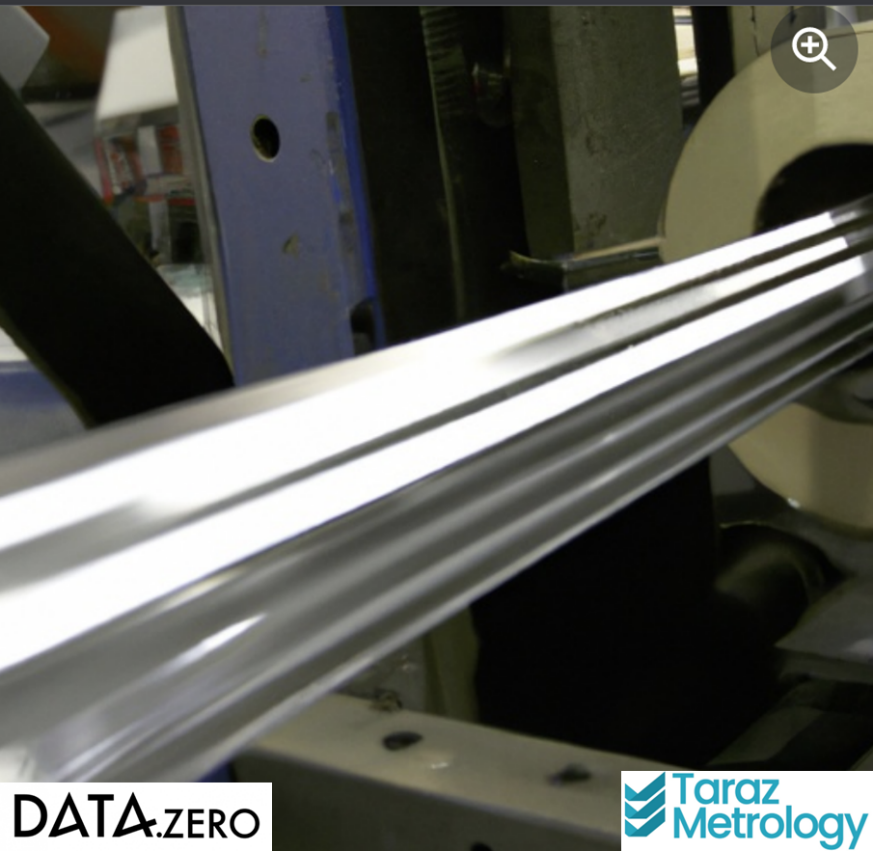
Figure 1: An aluminium profile as it is coming out of the die forming the desired shape
Why is it important to measure the shape of aluminium extrusions during manufacturing?
If manufacturers are able to measure the shape in real-time, they can identify any errors in the desired shape and make adjustments immediately, reducing waste and improving the quality of the final product. However, measuring the shape of aluminium extrusions is no easy feat. The extrusions are hot, shiny, and move rapidly through the manufacturing process. Traditional methods of measuring the shape, such as using contact probes or cameras, are often slow, unreliable and can cause damage to the extrusions. This is where Taraz Metrology comes in.
The proposed solution by the DAT4Zero project is to use advanced laser line scanning technologies to measure the shape of the extrusions repeatedly and in real-time as shown in Figure 2, without touching the part at all. By using high-speed laser scanners and advanced software, the lasers can measure the shape of the extrusions with extreme precision and accuracy, without causing any damage to the extrusions.

Figure 2. A laser line scanner measuring the outer profile of an aluminium extrusion while it is being manufactured
This innovative solution not only improves the quality of the final product but also reduces waste and saves time and money in the manufacturing process. At present, Taraz metrology have proven this technology can work by testing under laboratory conditions and developing advanced software for detecting shape error. The next challenge is taking this approach to a real manufacturing production line.
Location: Strelley Hall, Main St, Strelley, NG8 6PE United Kingdom
